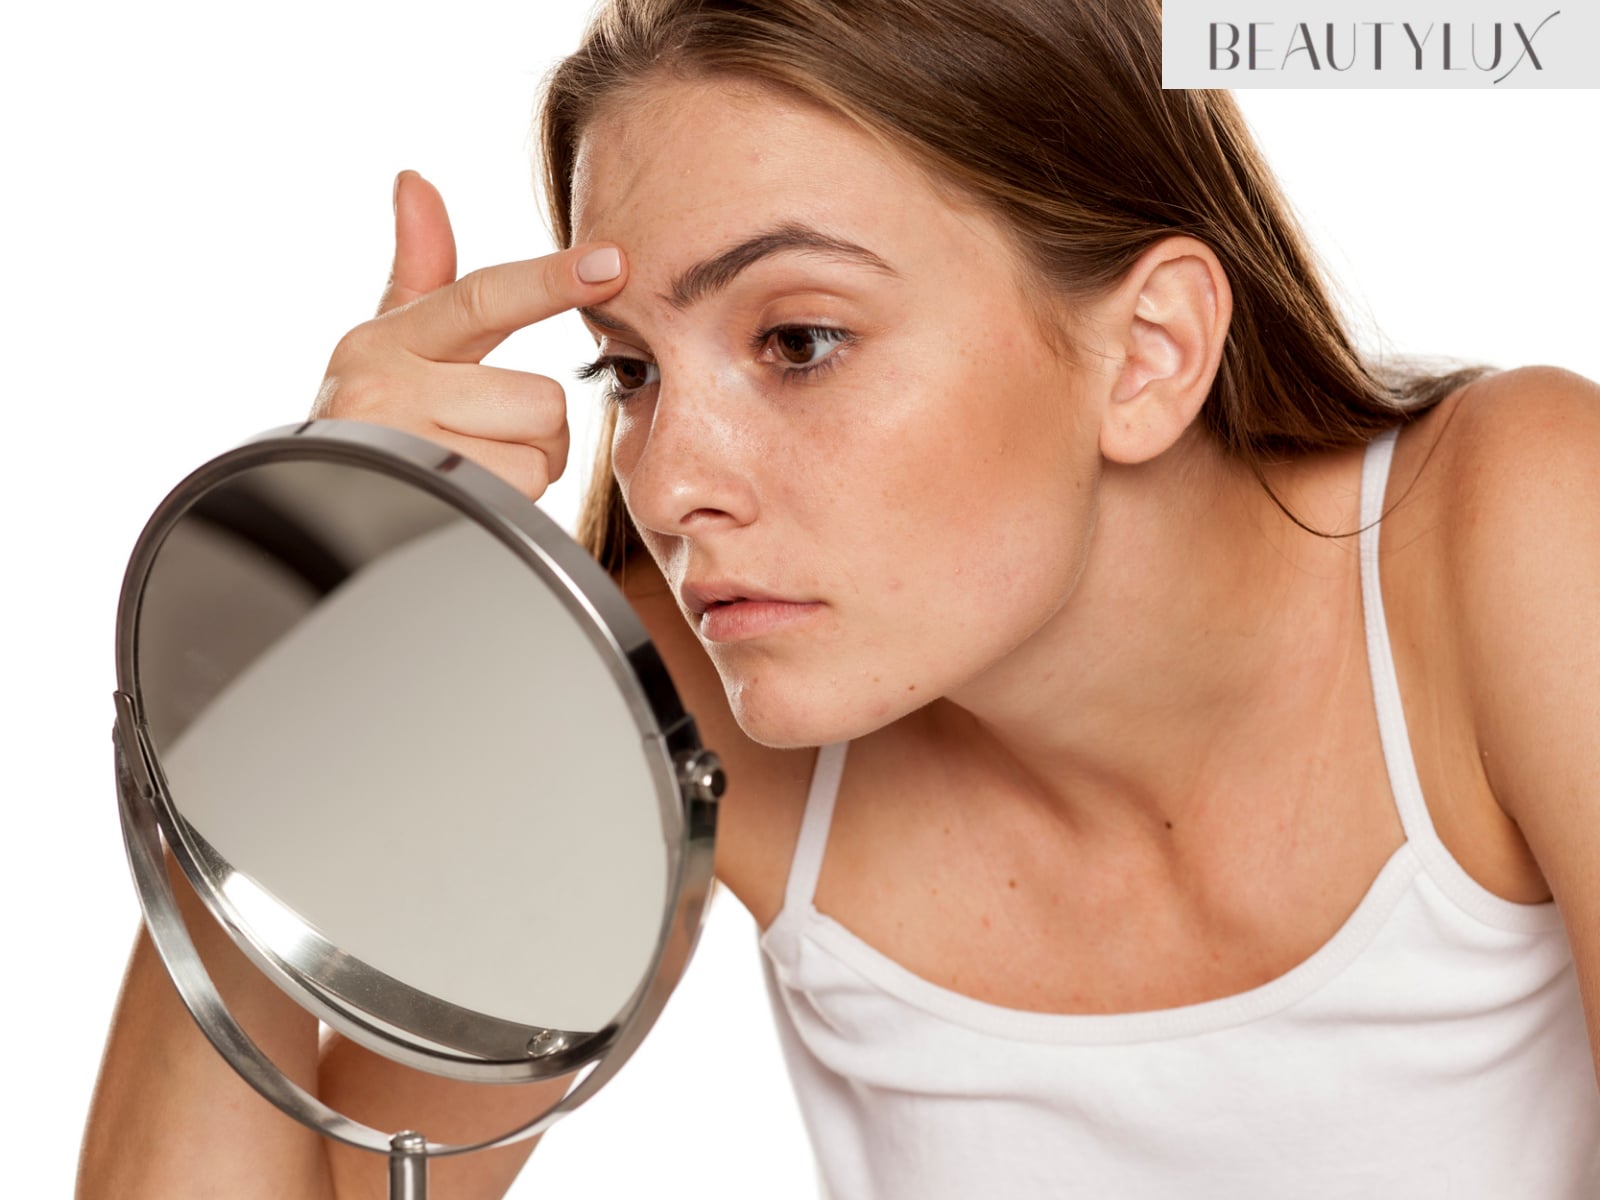
Get Rid of Blackheads: Here’s Your Comprehensive Guide to Clear Skin

Blackheads can be stubborn and frustrating, but fear not! We’re here to guide you on your journey to a clear and radiant complexion. Let us walk you through effective techniques, tips and tricks to banish those pesky blackheads once and for all. Follow this guide, and you’ll be more than ready to say hello to smooth, blemish-free skin!
But first, let’s understand how blackheads occur.
Before we share the steps, let's understand how blackheads occur.
Essentially, the culprit behind your blackheads is the hair follicles that have become clogged due to dead skin cells, bacteria and excess sebum or oil. The sebaceous glands are there to produce oil to keep your skin moisturised. But when there is excess oil or a buildup of dead skin cells, the pores can become easily blocked.
Don’t confuse blackheads with whiteheads! Unlike whiteheads, which are closed comedones, blackheads are open comedones. The top of the clogged pore remains open, allowing air to reach the trapped debris. When exposed to air, the trapped oil and dead skin cells undergo a process called oxidation. That oxidation is the exact reason why blackheads have their characteristic dark appearance.
You’ve probably noticed that blackheads commonly occur on your nose, chin and forehead. But they can also appear on your cheeks, jawline and other parts of your face. Ever wondered why? That’s because these areas tend to have a higher concentration of sebaceous glands, making them more prone to having pores with blackheads.
But why do you often have blackheads? You can link them to different factors. These include hormonal changes, excessive oil production, poor skincare habits and certain environmental factors. Have you been using heavy or pore-clogging cosmetic products? That can also contribute to developing more blackheads.
Now that we know how blackheads occur, we can move on to the steps to effectively get rid of them and achieve clear, blemish-free skin.
Step 1: Cleanse with a gentle face wash.
Begin your blackhead-fighting routine with a gentle, organic cleanser that suits your skin type. Massage the cleanser onto your damp skin in circular motions, paying extra attention to areas prone to blackheads. Then, rinse off thoroughly with lukewarm water. Cleansing helps remove dirt, impurities, and, more importantly, excess oil. In turn, you’ll have a clean canvas for further treatment.
Step 2: Exfoliate to unclog pores.
Exfoliation is crucial in removing blackheads. Choose a gentle exfoliator with natural ingredients and scrub your face using circular motions. Doing so helps eliminate dead
skin cells and unclog pores. But be careful not to over-exfoliate, as you don’t want to deal with irritation. You can limit exfoliation to twice a week for best results.
Step 3: Steam your way to having clear skin.
Steaming is another fantastic way to get rid of blackheads by opening up your pores and loosening blackheads. Fill a bowl with hot water, and position your face over it; you can create a steam tent with a towel to trap the steam. Steam for about five to ten minutes, being careful not to burn yourself. This method softens the trapped debris in your pores, making it easier to remove blackheads.
But how do you get rid of blackheads after steaming? You can use the iLift Microdermabrasion Set. It’s a blackheads vacuum remover you can easily use at home; it’s one of the most trusted non-invasive skin treatments for blackheads.
Step 4: Target blackheads with a clay mask.
Want another way to address your blackheads?
Apply a clay mask rich in detoxifying ingredients to draw out impurities and absorb excess oil. Look for masks containing activated charcoal, kaolin clay or bentonite clay. Apply the mask, focusing on areas with blackheads. Let it dry for ten to 15 minutes or follow the instructions. Finally, rinse the mask off with warm water. Your skin will likely feel refreshed and deeply cleansed after the clay mask treatment.

Step 5: Apply a non-comedogenic serum or treatment.
After removing the clay mask, it’s time to treat your skin! Use a non-comedogenic serum or treatment specifically designed to combat blackheads. It’s best to look for products that contain ingredients like tea tree oil or salicylic acid. Other products with pore-clearing properties work well, too. Apply such products to the affected areas, allowing them to absorb completely before proceeding to the next step.
Step 6: Moisturise and protect.
Moisturising is crucial to maintaining skin hydration and protecting your newly-cleared pores. Choose a lightweight, oil-free moisturiser that won’t clog your pores. Gently massage it into your skin, ensuring it is adequately absorbed. Also, don’t forget the importance of sunscreen! Always use sunscreen with at least SPF 30 to shield your skin against harmful UV rays after applying the oil free moisturiser.
Additional tips and tricks
Need more tips to battle against your blackheads? We’ve got some here:
- Don’t squeeze or pick at blackheads, as it can lead to inflammation and potential scarring.
- Clean your makeup brushes regularly to prevent the buildup of bacteria and oil. Remember, those can contribute to developing blackheads.
- Switch to non-comedogenic products from heavy, pore-clogging cosmetics.
- Incorporate a balanced diet and stay hydrated to promote healthy skin from within to help get rid of blackheads.
- Avoid excessive sun exposure, as it can worsen blackheads and damage your skin.
You’re on your way to having blackhead-free skin!
Congratulations on taking the first step towards a blackhead-free complexion! By following these comprehensive steps, understanding how blackheads form and implementing extra tips and tricks, you’re on your way to achieving smoother, clearer skin. Remember, consistency is key in skincare, so stick to this routine and explore the wide range of organic and clean skincare products available here at Beautylux. Embrace your journey to radiant skin with confidence!
